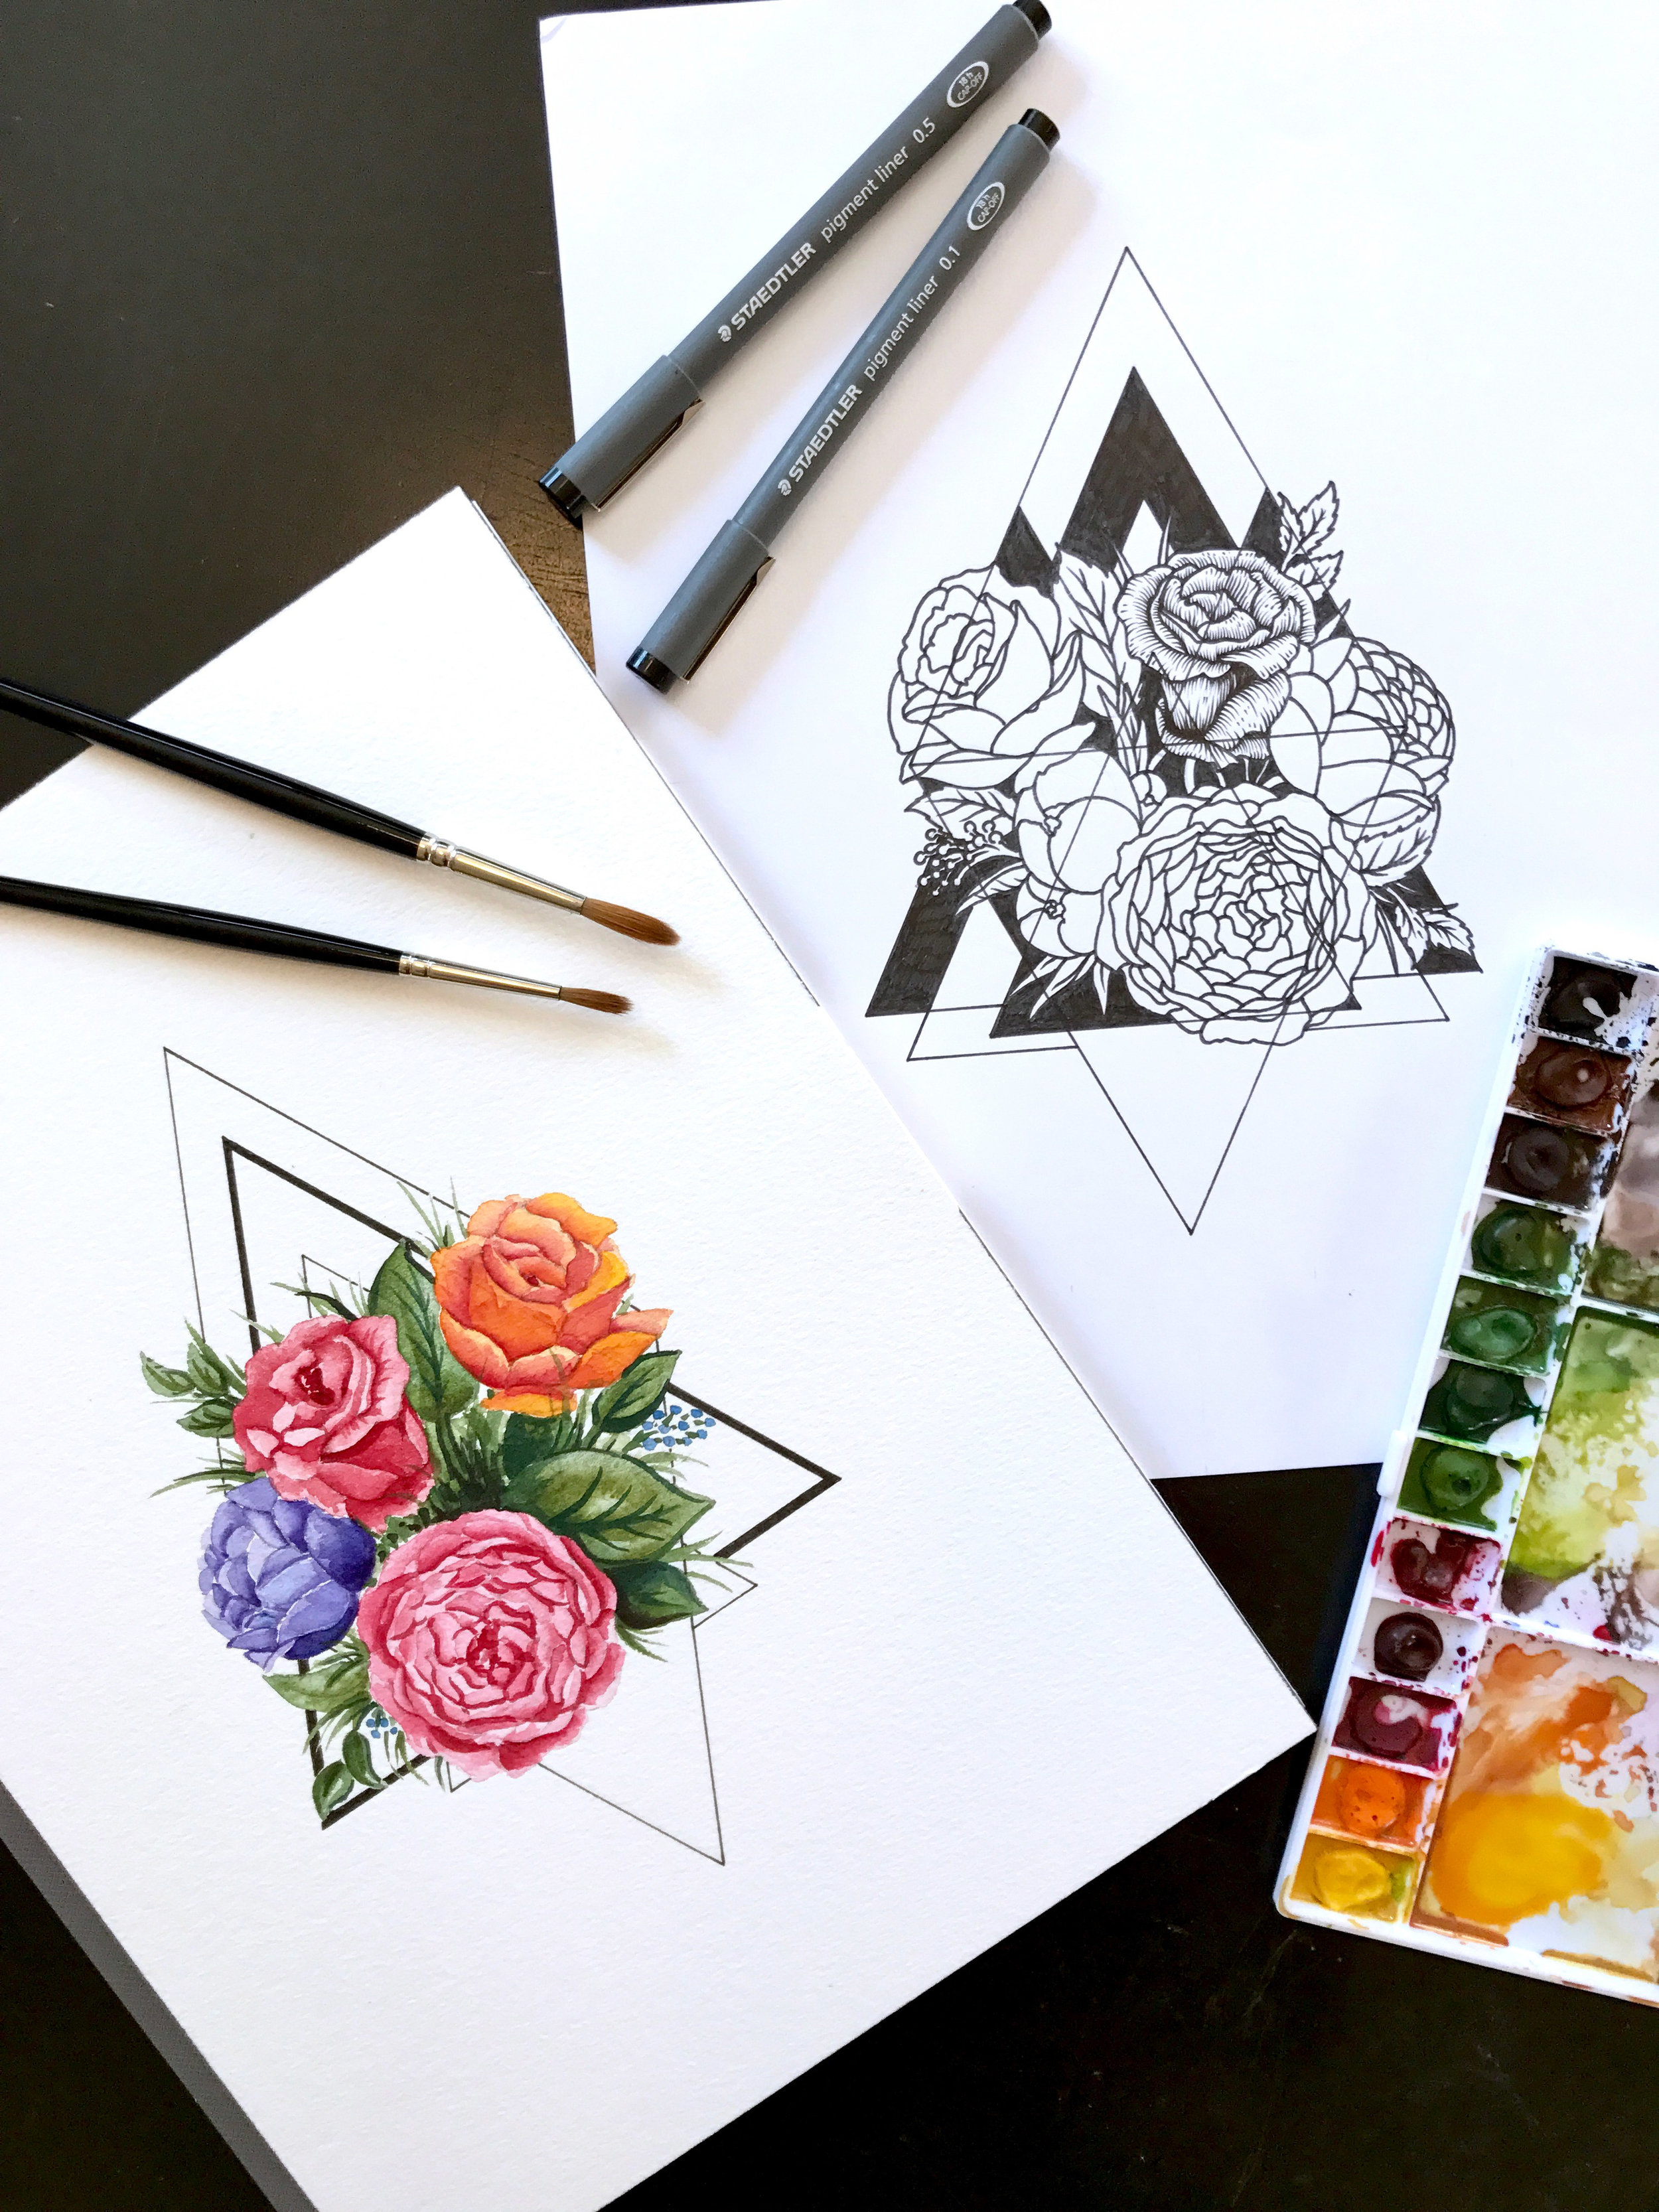
How to Use Tracing Paper to Transfer an Inked Illustration to Watercolor Paper
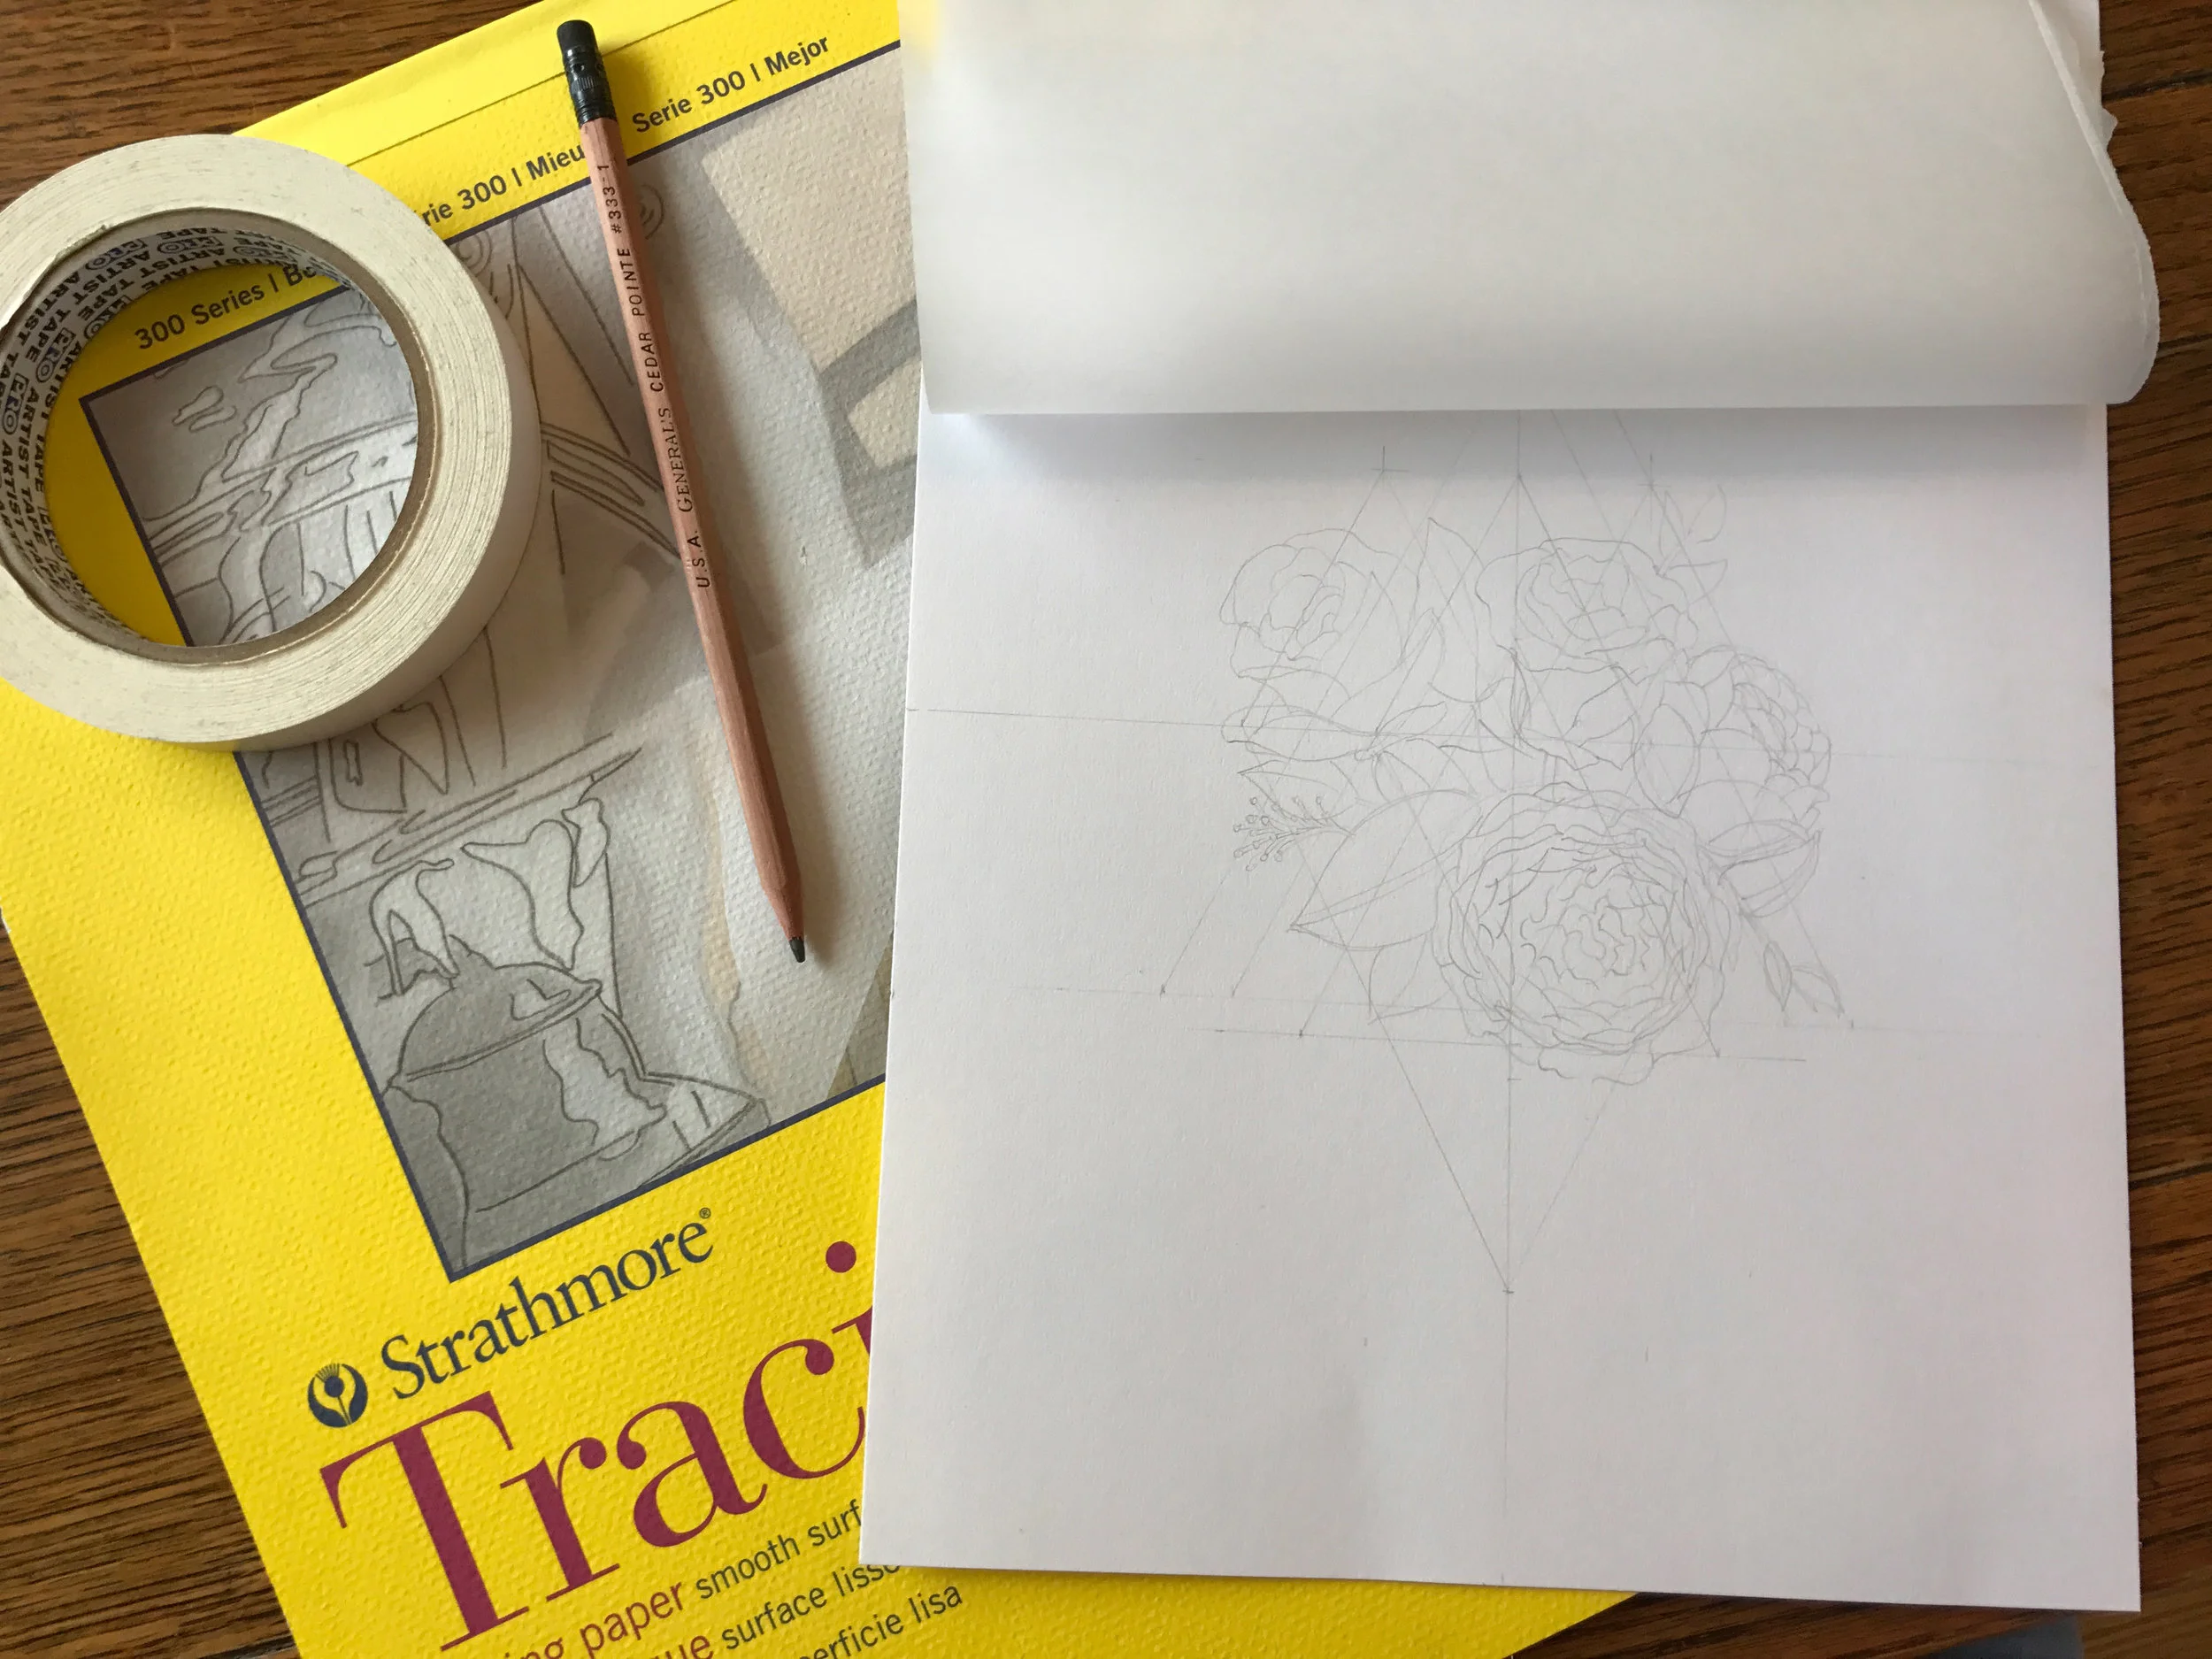
I thought I'd share a technique I like to use sometimes when I plan a new watercolor. After I illustrate a new piece, I like to use tracing paper to transfer the art from the illustration over to the watercolor block. To begin, all you'll need is an illustration, tracing paper, masking tape, pencil 2b or higher, watercolor paper or block.
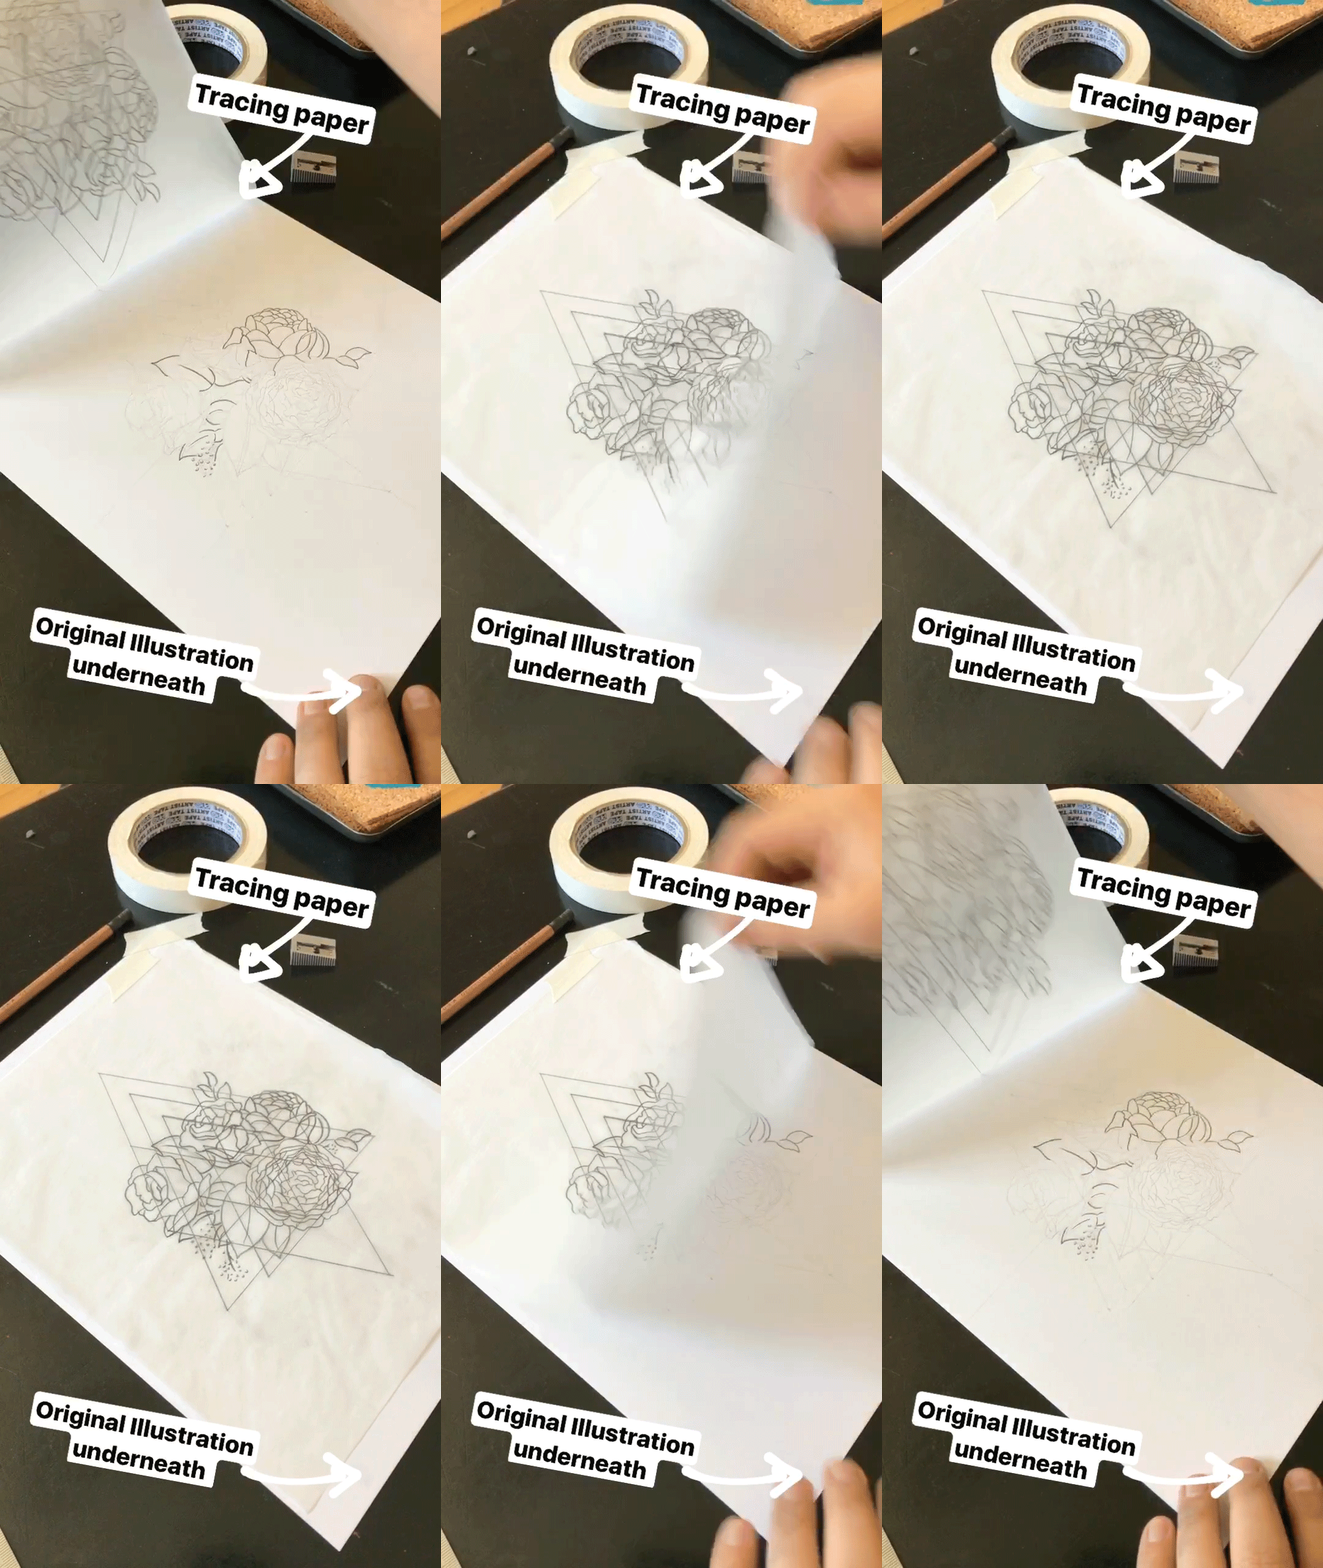
Step 1: Tape the tracing paper on top of the illustration and trace the illustration with a darker lead pencil.
I use a darker pencil to trace over the illustration because the transfer will slightly be lighter. With a darker shade of pencil, it will help ensure the pencil marks will transfer over to the watercolor block.
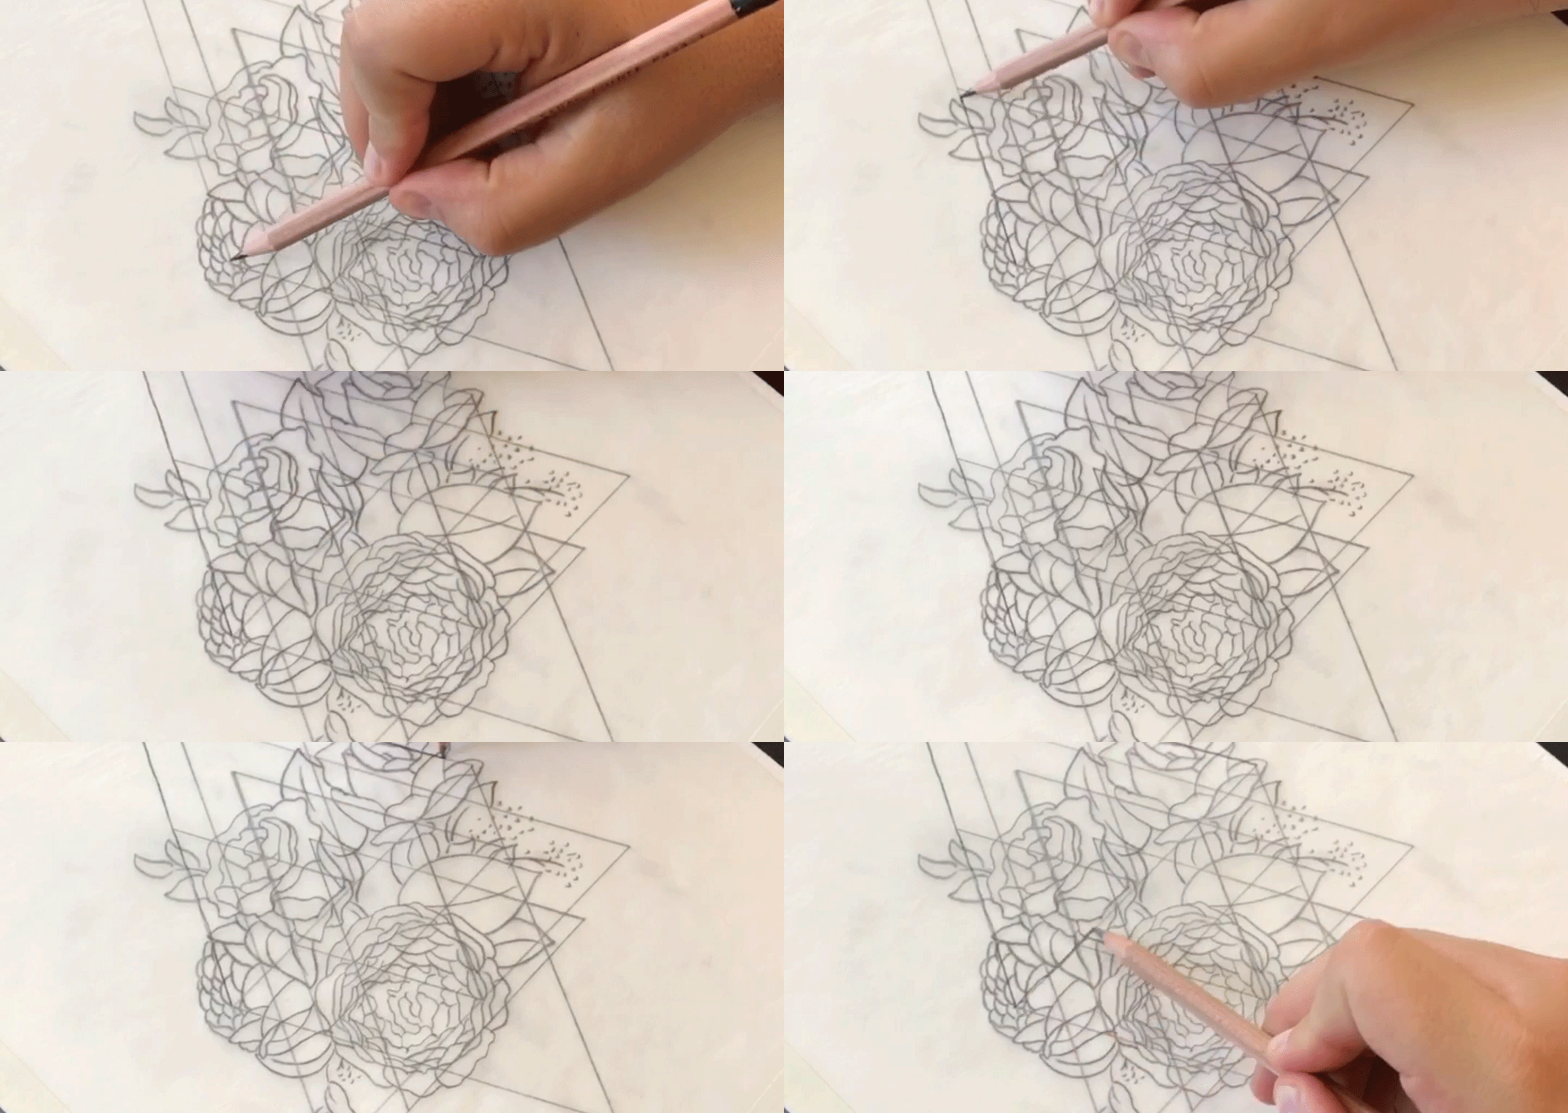
Step 2: Flip the tracing paper over, tape it onto the watercolor paper or block, and begin drawing on top of the pencil lines you created in step 1.
This will transfer the pencil lines you created in step 1 onto the watercolor paper. *Note: This will be a reversed image of the illustration, but you could go a step further and retrace the lines once again.
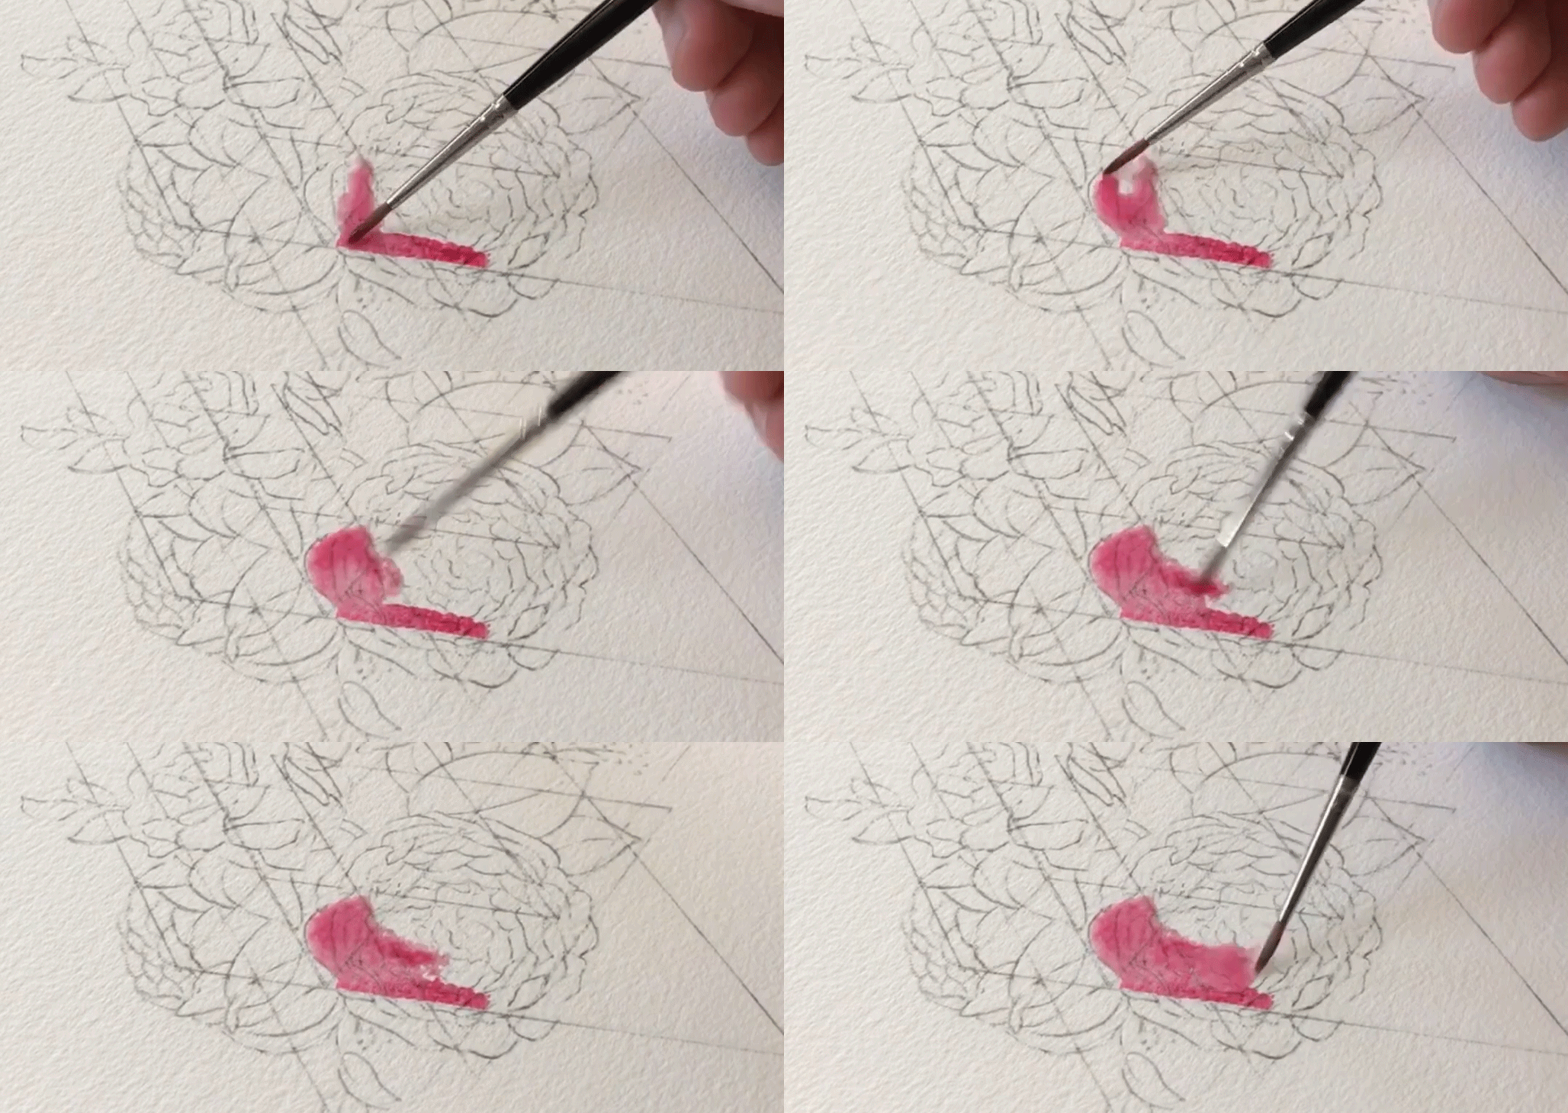
Step 3: Have fun watercoloring
The transfer process is now complete and you can begin watercoloring. Have Fun!
Check out below what I completed from using this transfer method. I kept my original illustration and began to shade in all my florals. It's going to be a great piece to frame once I finish it. Also, you can see my watercolored piece that I achieved from transferring the original illustration. I love this transferring process because you can get multiple art pieces once you're done, and if at any point you make a mistake on your watercolor, you can start over and transfer your illustration again.

